
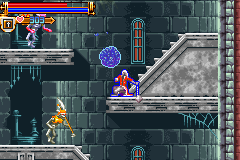
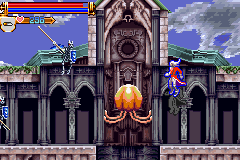
Part of playing Castlevania: Harmony of Dissonance is figuring out the secret of its two castles. As Death explains it: The two overlapping castles are somehow a product of Dracula's possession of Maxim. While both castles are almost identical structure-wise, their backgrounds, enemies and challenge-levels differ. Initially, you start out in transient "Castle A" and move between it and the real "Castle B." One detail is that the whole middle of the castle--the overlapping portion--reverts when you enter Castle B so that it instead becomes a part of Castle A and vice-versa. This two-page stage overview is structured so that the transient castle, the one in which you begin the game, is covered on the first page while the real castle is covered on page two.
![]()
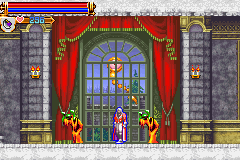
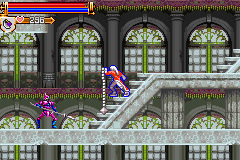
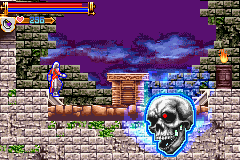
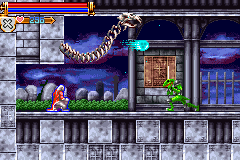
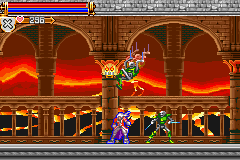
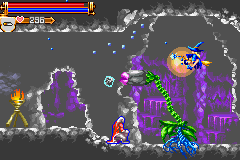
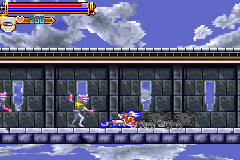
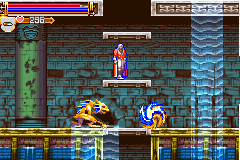
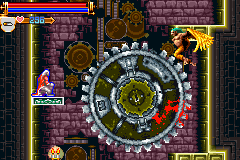
![]() Castle A
Castle A ![]()
![]()
|
Castle
Entrance
|
||
|
|
||||||||||||||||||
|
|||||||||||||||||||
|
|||||||||||||||||||
 |

![]()
|
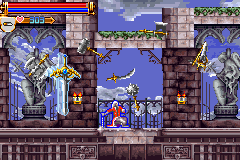
Marble
Corridor
|
||
|
|
||||||||||||||||||
|
|||||||||||||||||||
|
|||||||||||||||||||
 |
![]()
|
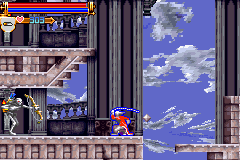
Room
of Illusion
|
||
|
|
||||||||||||||||||
|
|||||||||||||||||||
|
|||||||||||||||||||
 |
![]()
|
The
Wailing Way
|
||
|
|
||||||||||||||||||
|
|||||||||||||||||||
|
|||||||||||||||||||
 |
![]()
|
Shrine
of the Apostates
|
||
|
|
||||||||||||||||||
|
|||||||||||||||||||
|
|||||||||||||||||||
 |
![]()
|
Castle
Treasury
|
||
|
|
||||||||||||||||||
|
|||||||||||||||||||
|
|||||||||||||||||||
 |

![]()
|
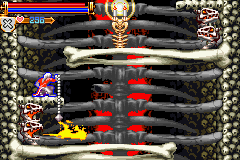
Cave
of Skeletons
|
||
|
|
||||||||||||||||||
|
|||||||||||||||||||
|
|||||||||||||||||||
 |
![]()
|
Castle
Top Floor
|
||
|
|
||||||||||||||||||
|
|||||||||||||||||||
|
|||||||||||||||||||
 |
![]()
|
Luminous
Cavern
|
||
|
|
||||||||||||||||||
|
|||||||||||||||||||
|
|||||||||||||||||||
 |
![]()
|
Sky
Walkway
|
||
|
|
||||||||||||||||||
|
|||||||||||||||||||
|
|||||||||||||||||||
 |
![]()
|
Chapel
of Dissonance
|
||
|
|
||||||||||||||||||
|
|||||||||||||||||||
|
|||||||||||||||||||
 |
![]()
|
Aqueduct
of Dragons
|
||
|
|
||||||||||||||||||
|
|||||||||||||||||||
|
|||||||||||||||||||
 |
![]()
|
Clock
Tower
|
||
|
|
||||||||||||||||||
|
|||||||||||||||||||
|
|||||||||||||||||||
 |
![]()
Page 2: Castle B | Back to Stage Listing | Back to Game Page
|
[Home] [What's New?] [CV Library] [Stages] [Reviews] [Weapons] [Castleography] [Multimedia] [Codes] [Links] |
||||