

In comparison to the castles seen in recent titles, Dracula's castle is in Portrait of Ruin more compact and rather manageable, the heroes able to move about a large portion of it from game's start. Where Portrait makes up the difference is in the area of paintings--nine magically cordoned-off areas each with its own theme. The game's true restriction is in regard to these paintings, which will be accessed over time. In covering the layout, I'll be separating areas into two categories: Castle Areas and Paintings.
![]()
![]() Castle Areas
Castle Areas ![]()
![]()
|
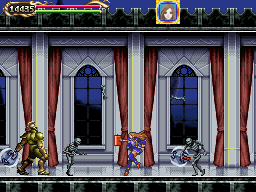
Entrance
|
||
|
|
||||||||||||||||||
|
|||||||||||||||||||
|
|||||||||||||||||||
 |


![]()
|
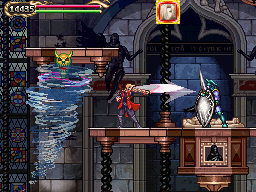
Buried
Chamber
|
||
|
|
||||||||||||||||||
|
|||||||||||||||||||
|
|||||||||||||||||||
 |


![]()
|
Great
Stairway
|
||
|
|
||||||||||||||||||
|
|||||||||||||||||||
|
|||||||||||||||||||
 |


![]()
|
Tower
of Death
|
||
|
|
||||||||||||||||||
|
|||||||||||||||||||
|
|||||||||||||||||||
 |


![]()
|
Master's
Keep
|
||
|
|
||||||||||||||||||
|
|||||||||||||||||||
|
|||||||||||||||||||
 |


![]()
|
Throne
Room
|
||
|
|
||||||||||||||||||
|
|||||||||||||||||||
|
|||||||||||||||||||
 |


![]()
![]() Paintings
Paintings ![]()
![]()
|
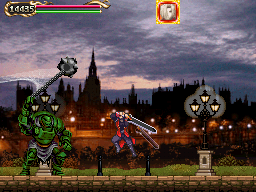
City
of Haze
|
||
|
|
||||||||||||||||||
|
|||||||||||||||||||
|
|||||||||||||||||||
|
|


![]()
|
Sandy
Grave
|
||
|
|
||||||||||||||||||
|
|||||||||||||||||||
|
|||||||||||||||||||
 |


![]()
|
Nation
of Fools
|
||
|
|
||||||||||||||||||
|
|||||||||||||||||||
|
|||||||||||||||||||
 |


![]()
|
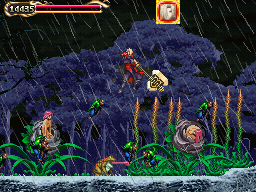
Forest
of Doom
|
||
|
|
||||||||||||||||||
|
|||||||||||||||||||
|
|||||||||||||||||||
|
|


![]()
|
Dark
Academy
|
||
|
|
||||||||||||||||||
|
|||||||||||||||||||
|
|||||||||||||||||||
|
|


![]()
|
13th
Street
|
||
|
|
||||||||||||||||||
|
|||||||||||||||||||
|
|||||||||||||||||||
|
|


![]()
|
Burnt
Paradise
|
||
|
|
||||||||||||||||||
|
|||||||||||||||||||
|
|||||||||||||||||||
 |


![]()
|
Forgotten
City
|
||
|
|
||||||||||||||||||
|
|||||||||||||||||||
|
|||||||||||||||||||
 |


![]()
|
Nest
of Evil
|
||
|
|
||||||||||||||||||
|
|||||||||||||||||||
|
|||||||||||||||||||
|
|


![]()
Back to Stage Listing | Back to Game Page
|
[Home] [What's New?] [CV Library] [Stages] [Reviews] [Weapons] [Castleography] [Multimedia] [Codes] [Links] |
||||