
![]()
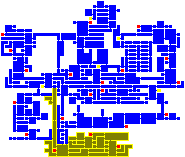
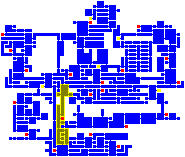
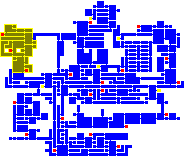
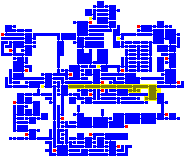
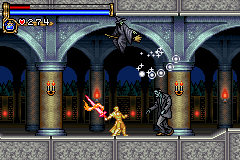
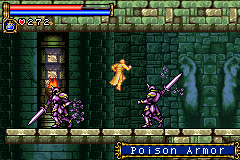
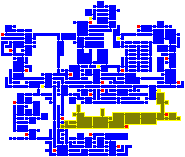
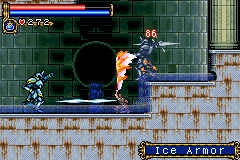
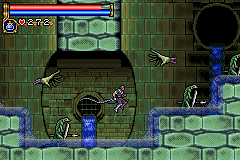
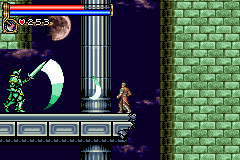
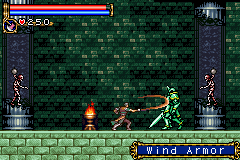
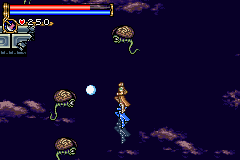
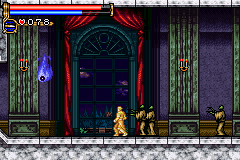
As in Symphony of the Night, Circle of the Moon's castle is broken up into separate sections--in this case fourteen--which offers to the player a nonlinear experience within the RPG-adventure genre. In order to successfully move about the castle, to its otheriwse initially-sealed-off areas, you'll have to first gain certain newer abilities. The listing below is the common order of navigating the castle if you wish to have the best success when trying to move into stronger-enemy territory.
|
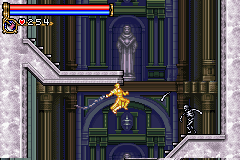
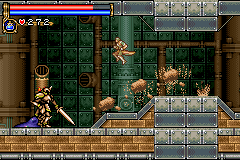
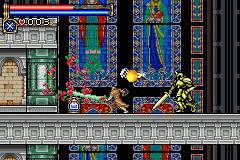
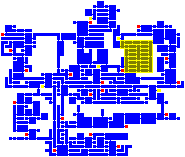
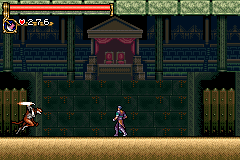
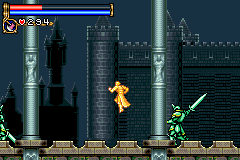
The
Catacomb
|
||
|
|
||||||||||||||||||
|
|||||||||||||||||||
|
|||||||||||||||||||
 |

![]()
|
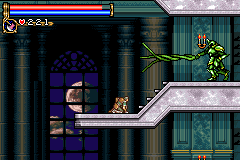
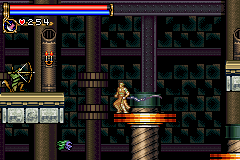
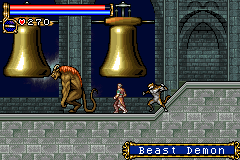
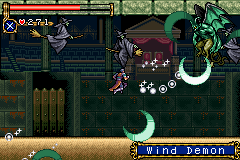
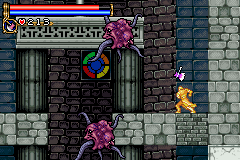
Abyss
Stairway
|
||
|
|
||||||||||||||||||
|
|||||||||||||||||||
|
|||||||||||||||||||
 |

![]()
|
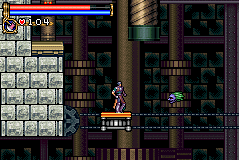
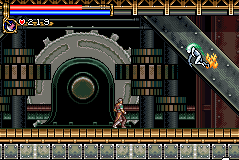
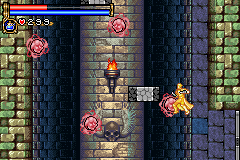
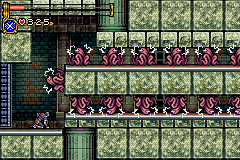
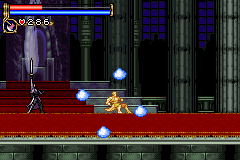
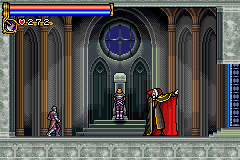
Audience
Room
|
||
|
|
||||||||||||||||||
|
|||||||||||||||||||
|
|||||||||||||||||||
 |

![]()
|
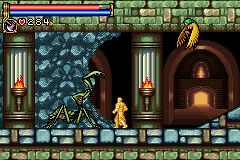
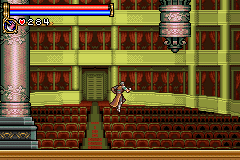
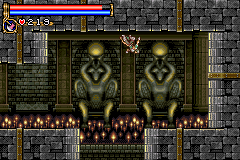
Machine
Tower
|
||
|
|
||||||||||||||||||
|
|||||||||||||||||||
|
|||||||||||||||||||
 |
![]()
|
Eternal
Corridor
|
||
|
|
||||||||||||||||||
|
|||||||||||||||||||
|
|||||||||||||||||||
 |


![]()
|
Chapel
Tower
|
||
|
|
||||||||||||||||||
|
|||||||||||||||||||
|
|||||||||||||||||||
 |

![]()
|
Underground
Gallery
|
||
|
|
||||||||||||||||||
|
|||||||||||||||||||
|
|||||||||||||||||||
 |

![]()
|
Underground
Warehouse
|
||
|
|
||||||||||||||||||
|
|||||||||||||||||||
|
|||||||||||||||||||
 |
![]()
|
Underground
Waterway
|
||
|
|
||||||||||||||||||
|
|||||||||||||||||||
|
|||||||||||||||||||
 |

![]()
|
Outer
Wall
|
||
|
|
||||||||||||||||||
|
|||||||||||||||||||
|
|||||||||||||||||||
 |

![]()
|
Triumph
Hallway
|
||
|
|
||||||||||||||||||
|
|||||||||||||||||||
|
|||||||||||||||||||
 |


![]()
|
Battle
Arena
|
||
|
|
||||||||||||||||||
|
|||||||||||||||||||
|
|||||||||||||||||||
 |

![]()
|
Observation
Tower
|
||
|
|
||||||||||||||||||
|
|||||||||||||||||||
|
|||||||||||||||||||
 |
![]()
|
Ceremonial
Room
|
||
|
|
||||||||||||||||||
|
|||||||||||||||||||
|
|||||||||||||||||||
 |

![]()
Back to Stage Listing | Back to Game Page
|
[Home] [What's New?] [CV Library] [Stages] [Reviews] [Weapons] [Castleography] [Multimedia] [Codes] [Links] |
||||