
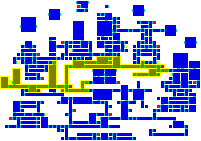
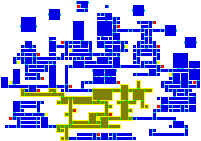
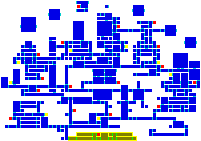
Castlevania: Aria of Sorrow is the fifth such game of the series to utilize a nonlinear play-method indicative of the RPG-adventure. The castle, this time, is broken up into twelve separate areas, with a thirteenth area, the Chaotic Realm, existing within its own dimension and thus its own map. Below is the best possible listing of the order in which you'll navigate the castle.
|
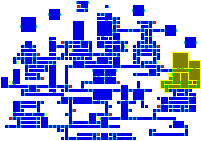
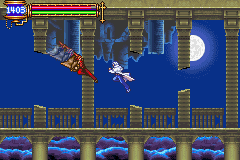
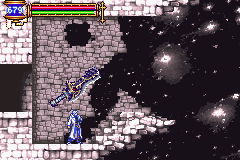
Castle
Corridor
|
||
|
|
||||||||||||||||||
|
|||||||||||||||||||
|
|||||||||||||||||||
 |


![]()
|
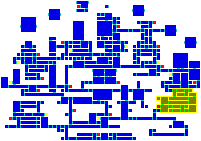
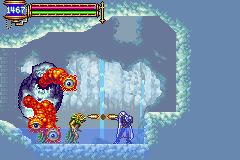
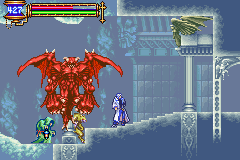
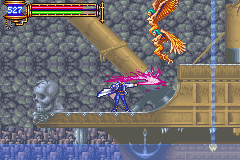
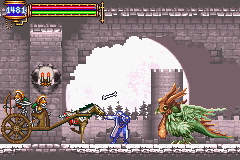
The
Chapel
|
||
|
|
||||||||||||||||||
|
|||||||||||||||||||
|
|||||||||||||||||||
 |


![]()
|
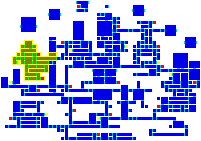
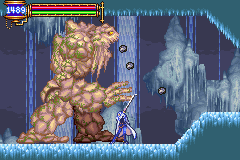
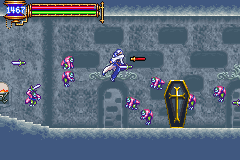
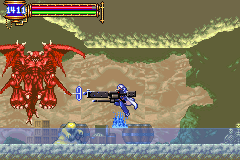
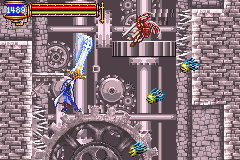
The
Study
|
||
|
|
||||||||||||||||||
|
|||||||||||||||||||
|
|||||||||||||||||||
 |


![]()
|
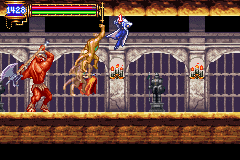
Dance
Hall
|
||
|
|
||||||||||||||||||
|
|||||||||||||||||||
|
|||||||||||||||||||
 |

![]()
|
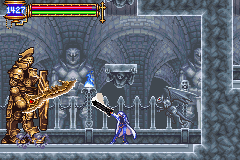
Inner
Quarters
|
||
|
|
||||||||||||||||||
|
|||||||||||||||||||
|
|||||||||||||||||||
 |


![]()
|
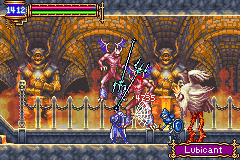
Floating
Garden
|
||
|
|
||||||||||||||||||
|
|||||||||||||||||||
|
|||||||||||||||||||
 |


![]()
|
Clock
Tower
|
||
|
|
||||||||||||||||||
|
|||||||||||||||||||
|
|||||||||||||||||||
 |


![]()
|
Underground
Reservoir
|
||
|
|
||||||||||||||||||
|
|||||||||||||||||||
|
|||||||||||||||||||
 |


![]()
|
Underground
Cemetery
|
||
|
|
||||||||||||||||||
|
|||||||||||||||||||
|
|||||||||||||||||||
 |


![]()
|
The
Arena
|
||
|
|
||||||||||||||||||
|
|||||||||||||||||||
|
|||||||||||||||||||
 |


![]()
|
Forbidden
Area
|
||
|
|
||||||||||||||||||
|
|||||||||||||||||||
|
|||||||||||||||||||
 |


![]()
|
Top
Floor
|
||
|
|
||||||||||||||||||
|
|||||||||||||||||||
|
|||||||||||||||||||
 |


![]()
|
Chaotic
Realm
|
||
|
|
||||||||||||||||||
|
|||||||||||||||||||
|
|||||||||||||||||||
 |

![]()
Back to Stage Listing | Back to Game Page
|
[Home] [What's New?] [CV Library] [Stages] [Reviews] [Weapons] [Castleography] [Multimedia] [Codes] [Links] |
||||