
![]()
![]() Reverse Castle
Reverse Castle ![]()
![]()
|
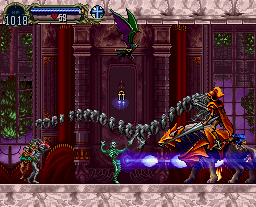
Reverse
Castle Keep
|
||
|
|
||||||||||||||||||
|
|||||||||||||||||||
|
|||||||||||||||||||
 |


![]()
|
Reverse
Clock Tower
|
||
|
|
||||||||||||||||||
|
|||||||||||||||||||
|
|||||||||||||||||||
 |


![]()
|
Reverse
Outer Wall
|
||
|
|
||||||||||||||||||
|
|||||||||||||||||||
|
|||||||||||||||||||
 |


![]()
|
Forbidden
Library
|
||
|
|
||||||||||||||||||
|
|||||||||||||||||||
|
|||||||||||||||||||
 |


![]()
|
Black
Marble Gallery
|
||
|
|
||||||||||||||||||
|
|||||||||||||||||||
|
|||||||||||||||||||
 |


![]()
|
Death
Wing's Lair
|
||
|
|
||||||||||||||||||
|
|||||||||||||||||||
|
|||||||||||||||||||
 |


![]()
|
Anti-Chapel
|
||
|
|
||||||||||||||||||
|
|||||||||||||||||||
|
|||||||||||||||||||
 |


![]()
|
Reverse
Underground Cavern
|
||
|
|
||||||||||||||||||
|
|||||||||||||||||||
|
|||||||||||||||||||
 |


![]()
|
Reverse
Entrance
|
||
|
|
||||||||||||||||||
|
|||||||||||||||||||
|
|||||||||||||||||||
|
280
 |


![]()
|
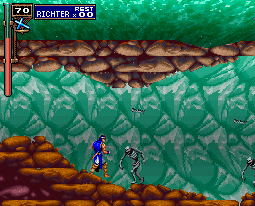
The
Cave
|
||
|
|
||||||||||||||||||
|
|||||||||||||||||||
|
|||||||||||||||||||
 |


![]()
|
Necromancy
Lab
|
||
|
|
||||||||||||||||||
|
|||||||||||||||||||
|
|||||||||||||||||||
 |


![]()
|
Reverse
Colosseum
|
||
|
|
||||||||||||||||||
|
|||||||||||||||||||
|
|||||||||||||||||||
 |


![]()
|
Floating
Catacombs
|
||
|
|
||||||||||||||||||
|
|||||||||||||||||||
|
|||||||||||||||||||
 |


![]()
![]() Saturn-Exclusive Areas
Saturn-Exclusive Areas
![]()
![]()
|
Reverse
Prison
|
||
|
|
||||||||||||||||||
|
|||||||||||||||||||
|
|||||||||||||||||||
 |


![]()
|
Reverse
Garden
|
||
|
|
||||||||||||||||||
|
|||||||||||||||||||
|
|||||||||||||||||||
 |


![]()
Regular Castle | Back to the PlayStation Version | Back to the Saturn Version
|
[Home] [What's New?] [CV Library] [Stages] [Reviews] [Weapons] [Castleography] [Multimedia] [Codes] [Links] |
||||